Hello and welcome to my Studio Jepson blog.
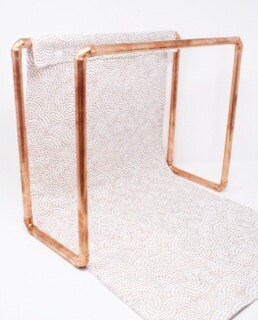
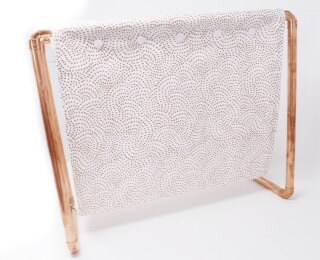
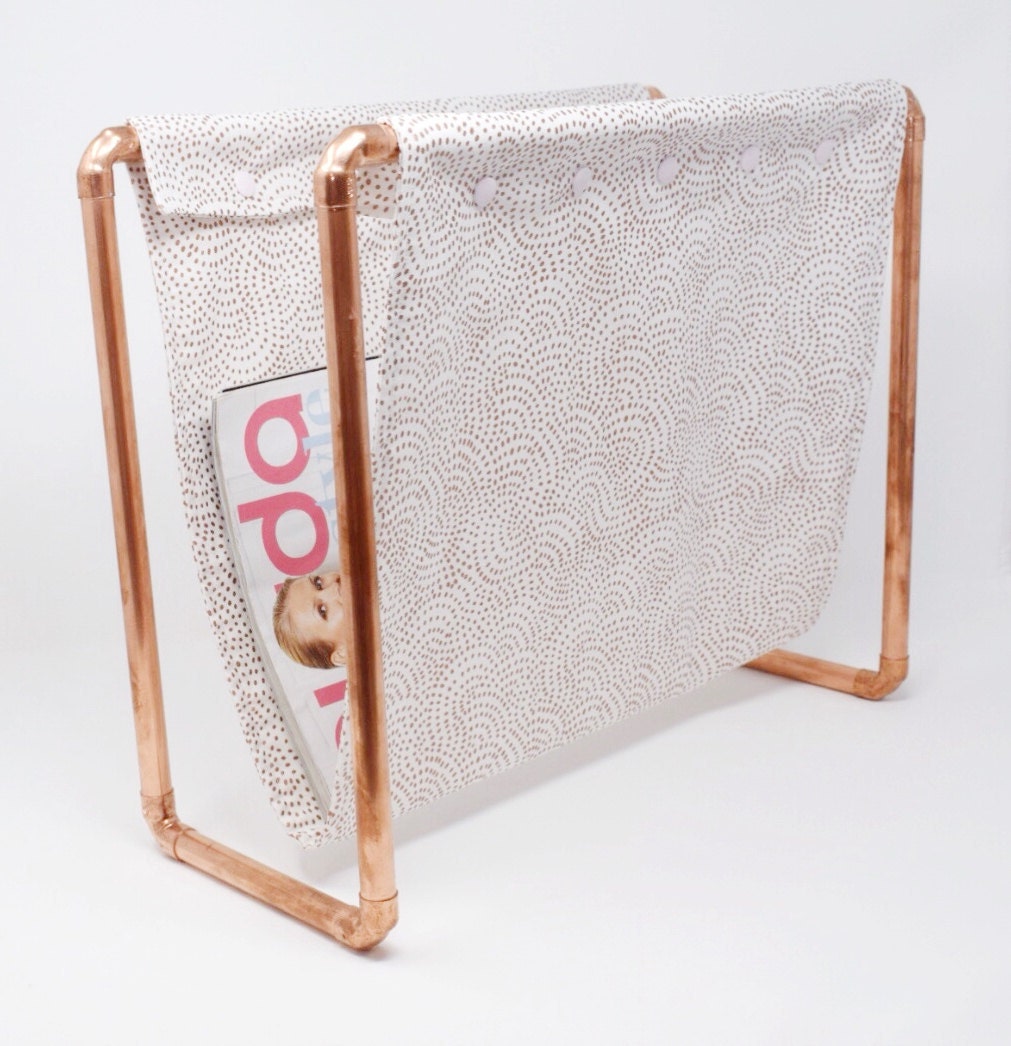
Today I am going to show you how to make this stylish magazine rack
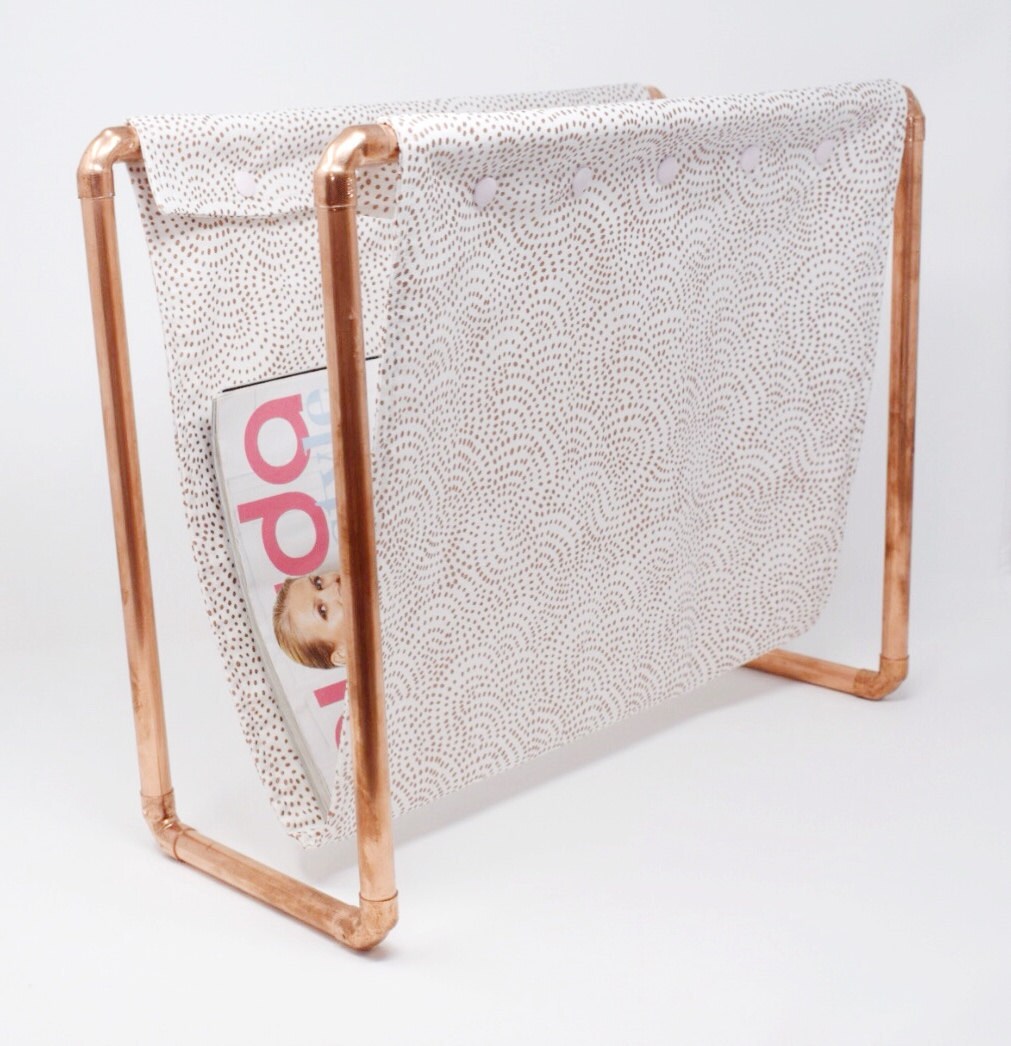
I have wanted to make this project for ages! My friend has just renovated her house and decorated in gorgeous greys, blush and copper. I knew a piece like this would look fab with her new decor.
I wanted to make the fabric sling of this magazine rack machine washable to ensure the white of the fabric looks pristine despite little fingers running around with chocolate and juice. I have designed the fabric sling to be removable using popper snaps. If you do not want to make it removable you can just sew a channel at the top and bottom of the sling and thread the copper tube through before you secure the frame together.
On this occassion I drafted in my (plumber) husband Oliver to help construct the copper frame as he had all the appropriate tools. If working with copper is not for you this idea would still work with PVC tubing or wood; simply adjust the construction accordingly.
You will need:
15mm copper tubing (or alternative PVC/ wood materials)
8 x 15mm copper connectors
Copper tube cutter
Super glue
1m of fabric - I used Dashwood Copper print fabric - as below
https://www.studiojepson.com/listing/633395903/dashwood-fabric-copper-fabric-rose-gold
1m of medium weight fusable interfacing
12 sets x snap poppers
Snap pliers
Sewing kit
Sewing machine
Iron and ironing board
1. Cut the copper pieces to size
Cut the following lengths of copper
2 x 15cm length
2 x 38cm length
2 x 30cm length.
2. Construct the frame
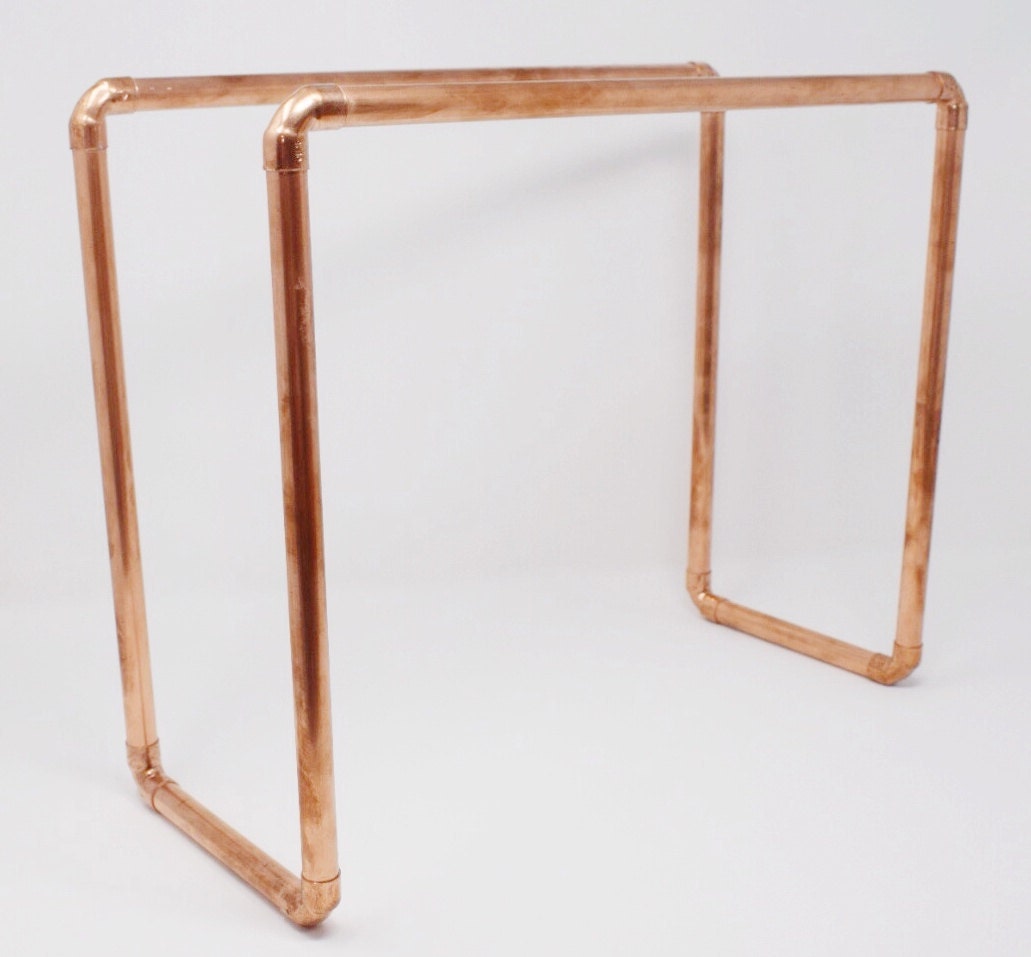
Construct the frame - as image below - using the elbow connectors.
Typically Oli would solder a copper project together but here we have used Super glue as I didnt want any silver coloured solder to be visible when the frame was constructed.
3. Cut fabric and fusing
Cut 2 fabric rectangles 82cm x 39cm wide (89cm along the selvedge)
Cut 2 pieces of medium width interfacing the same size.
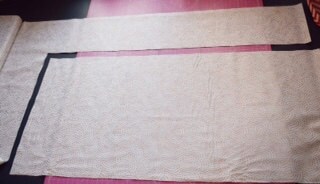
N.B save the off cuts for the next Studio Jepson tutorial!
4. Interline the fabric
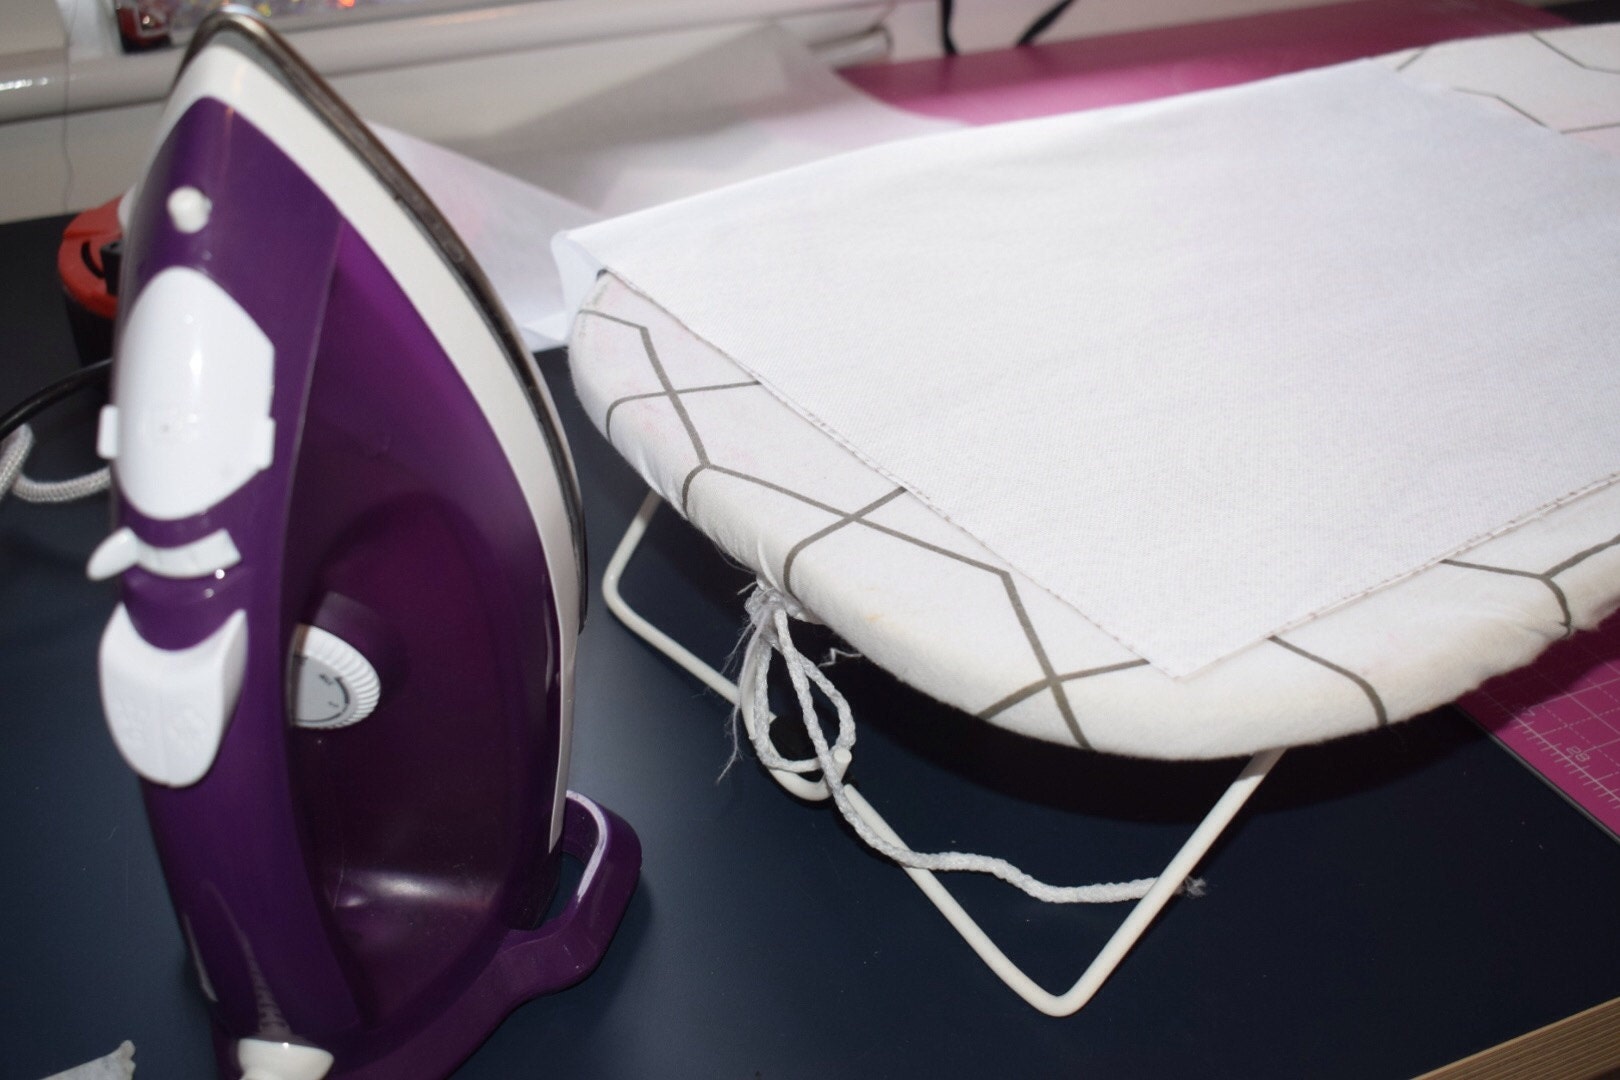
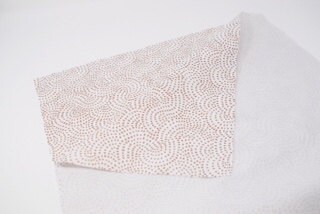
Next, using the iron, fuse the interfacing to the wrong side of each of the fabric rectangles, following the fusing manufacturers instructions.
5. Stitch fabric sling
Place fabric rectangles right sides together and machine stitch with a 1cm seam allowance, leaving a 10cm gap down one of the long sides (shown below between my little finger and thumb).

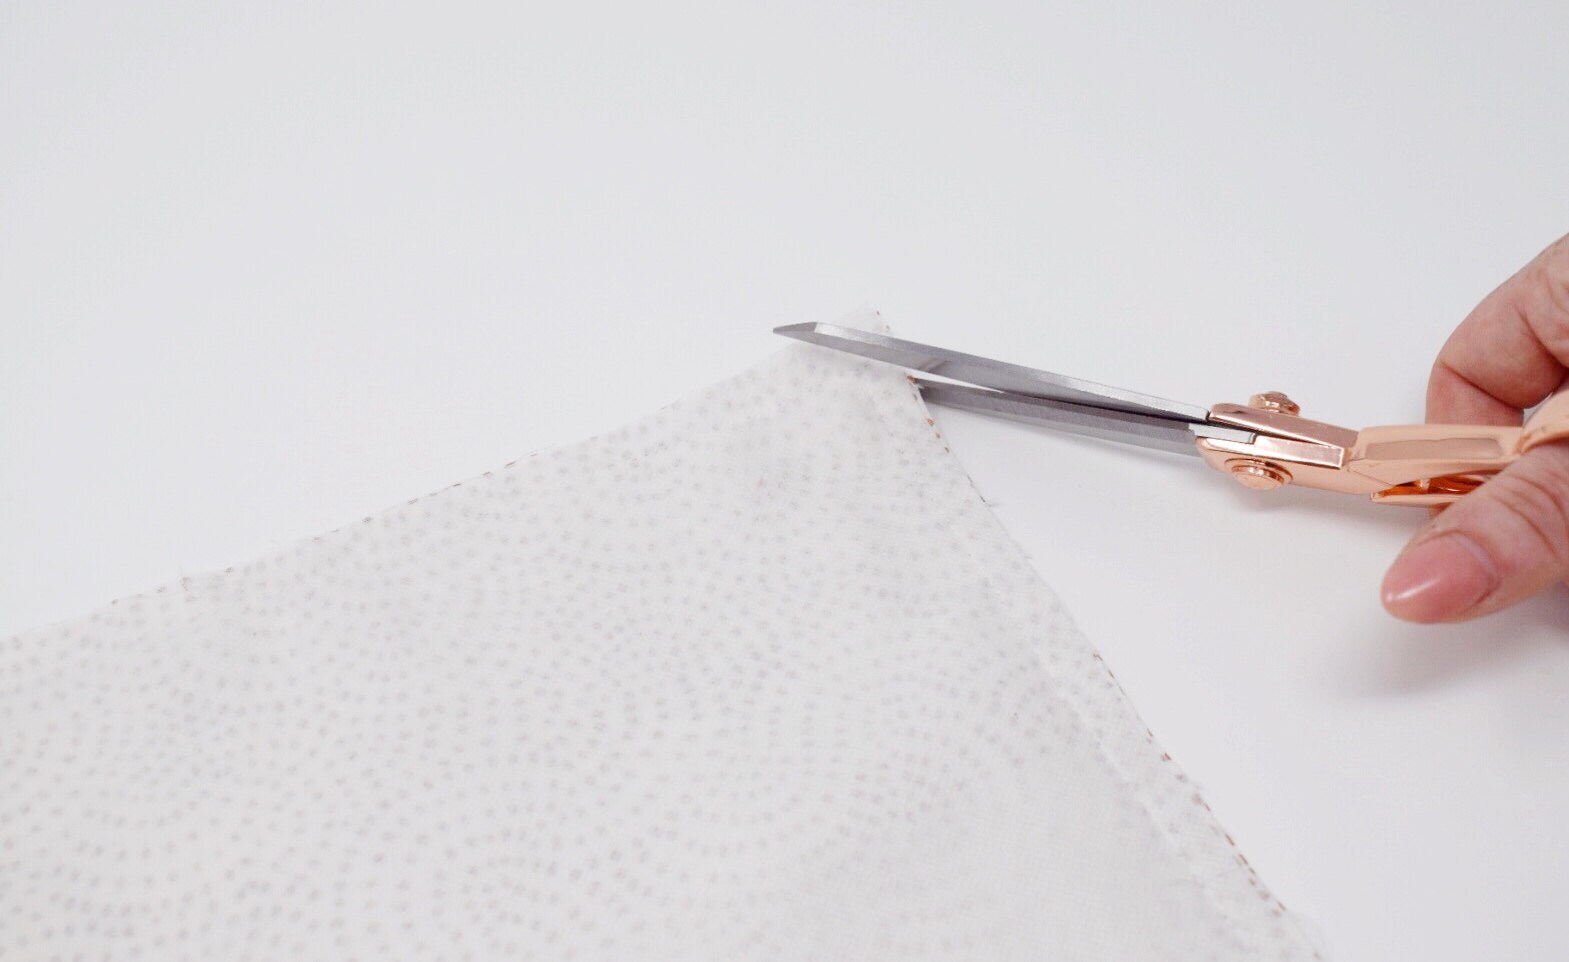
Clip the corners of the rectangles, taking care not to go too close/ snip through the machine stitching. Turn right side out and press.
6. Topstitch fabric sling
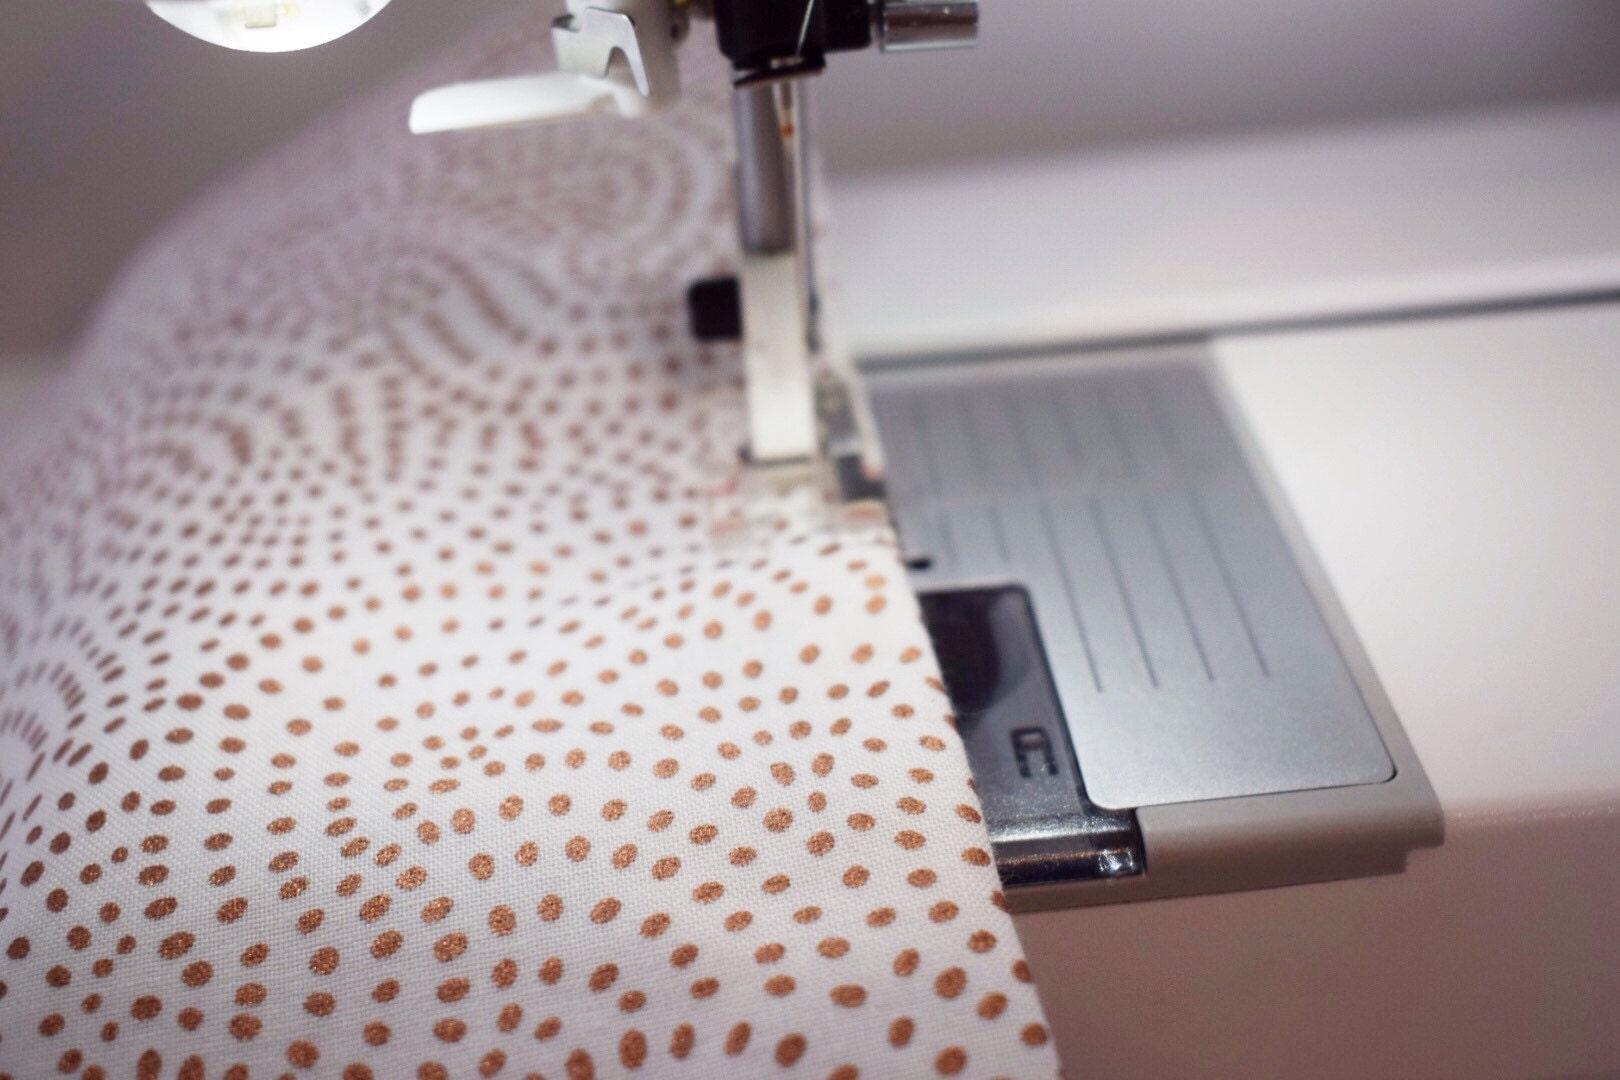
Fold the seam allowance of the 10cm opening under and pin in place. If you place the pins at right angles to the fabric edge you can sew over the top of the pins whilst machine stitching.
Topstitch the entire rectangle (therefore closing the 10cm turning gap). I like to use my edge stitching foot for this job to ensure a nice and consistant 5mm distance from the fabric edge.
7. Make the top edge of the sling
Fold one edge over by 5cm and press, we are now going to mark where the snaps will be.
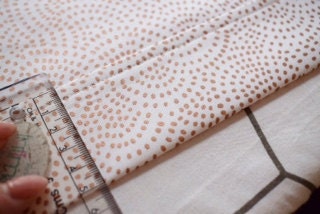
Using chalf or a friction pen mark a line 1cm from fabric edge and 9cm from the fabric edge.
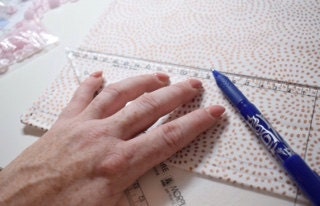
Mark the snap positions on both of these lines. There will be 5 snaps on each line - see pic below - space 6.1cm apart.
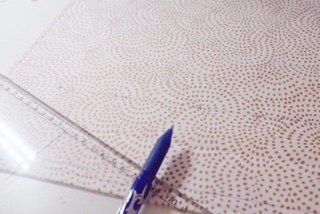
8. Attach snaps
Using snap pliers attach the popper snaps to both lines. The male poppers are used on the line 1cm from the fabric edge and the female poppers are used on the line 9cm from the fabric edge.
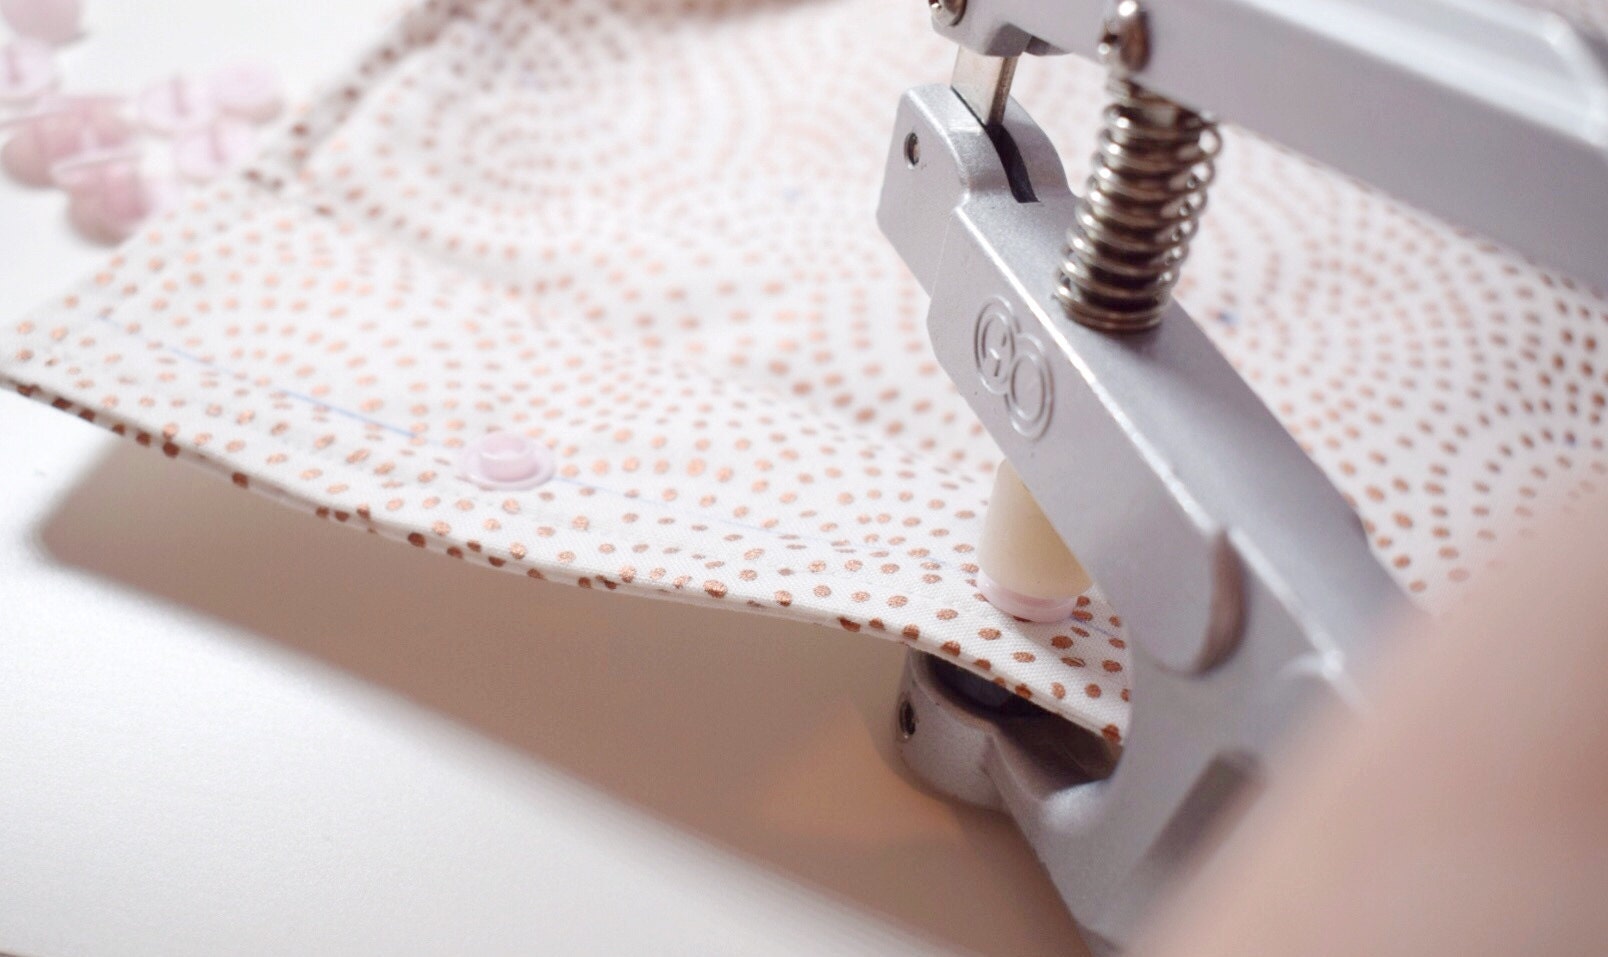
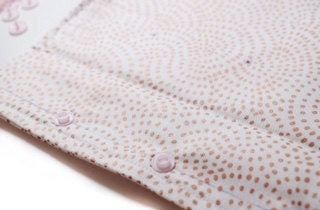
9. Make up the other edge
Repeat steps 7 and 8 on the other side of the fabric sling.
Remove your markings. If you are using a friction pen like me then use the heat of your iron to remove your marking lines.
10. Atttach fabric sling to the frame
Using the poppers, attach the fabric sling to the copper frame.
Your magazine rack is now complete and ready to store your favourite reads!
